Cheesy Mex Chicken with Fritos (Slow Cooker) (Naturally Gluten Free)

Cheesy Mex Chicken

I hopped on my bike and headed down the country road with the white bridge in site. The creek was just a short ride and I leaned my bike against the rail and jumped over it into the tall grass. I shimmy-ed down the steep bank and found a foothold on one of the large stones my sister and I placed there. It was hot and I was eagerly seeking the cool, bubbly, water in the shade under the road. I carefully made my way across by jumping stone-to-stone and landed on the large flat one that served as my shoe stool. If I ruined another pair, I knew my days at the creek were numbered.

My bare feet sunk into the wet, sandy dirt and my body instantly felt the relief. This summer was boiling and the creek was lower than usual. I patted some water on my face and started turning rocks. Crawdads, minnows and tadpoles scurried along as I inspected the creek bed.

This last week I took my daughter ‘creeking’ for the first time. While it was not at ‘my’ creek, it certainly brought back many faded memories.

Photo Credit: My friend Liz over at http://superveggiemom.com/

Photo Credit: My friend Liz over at http://www.superveggiemom.com

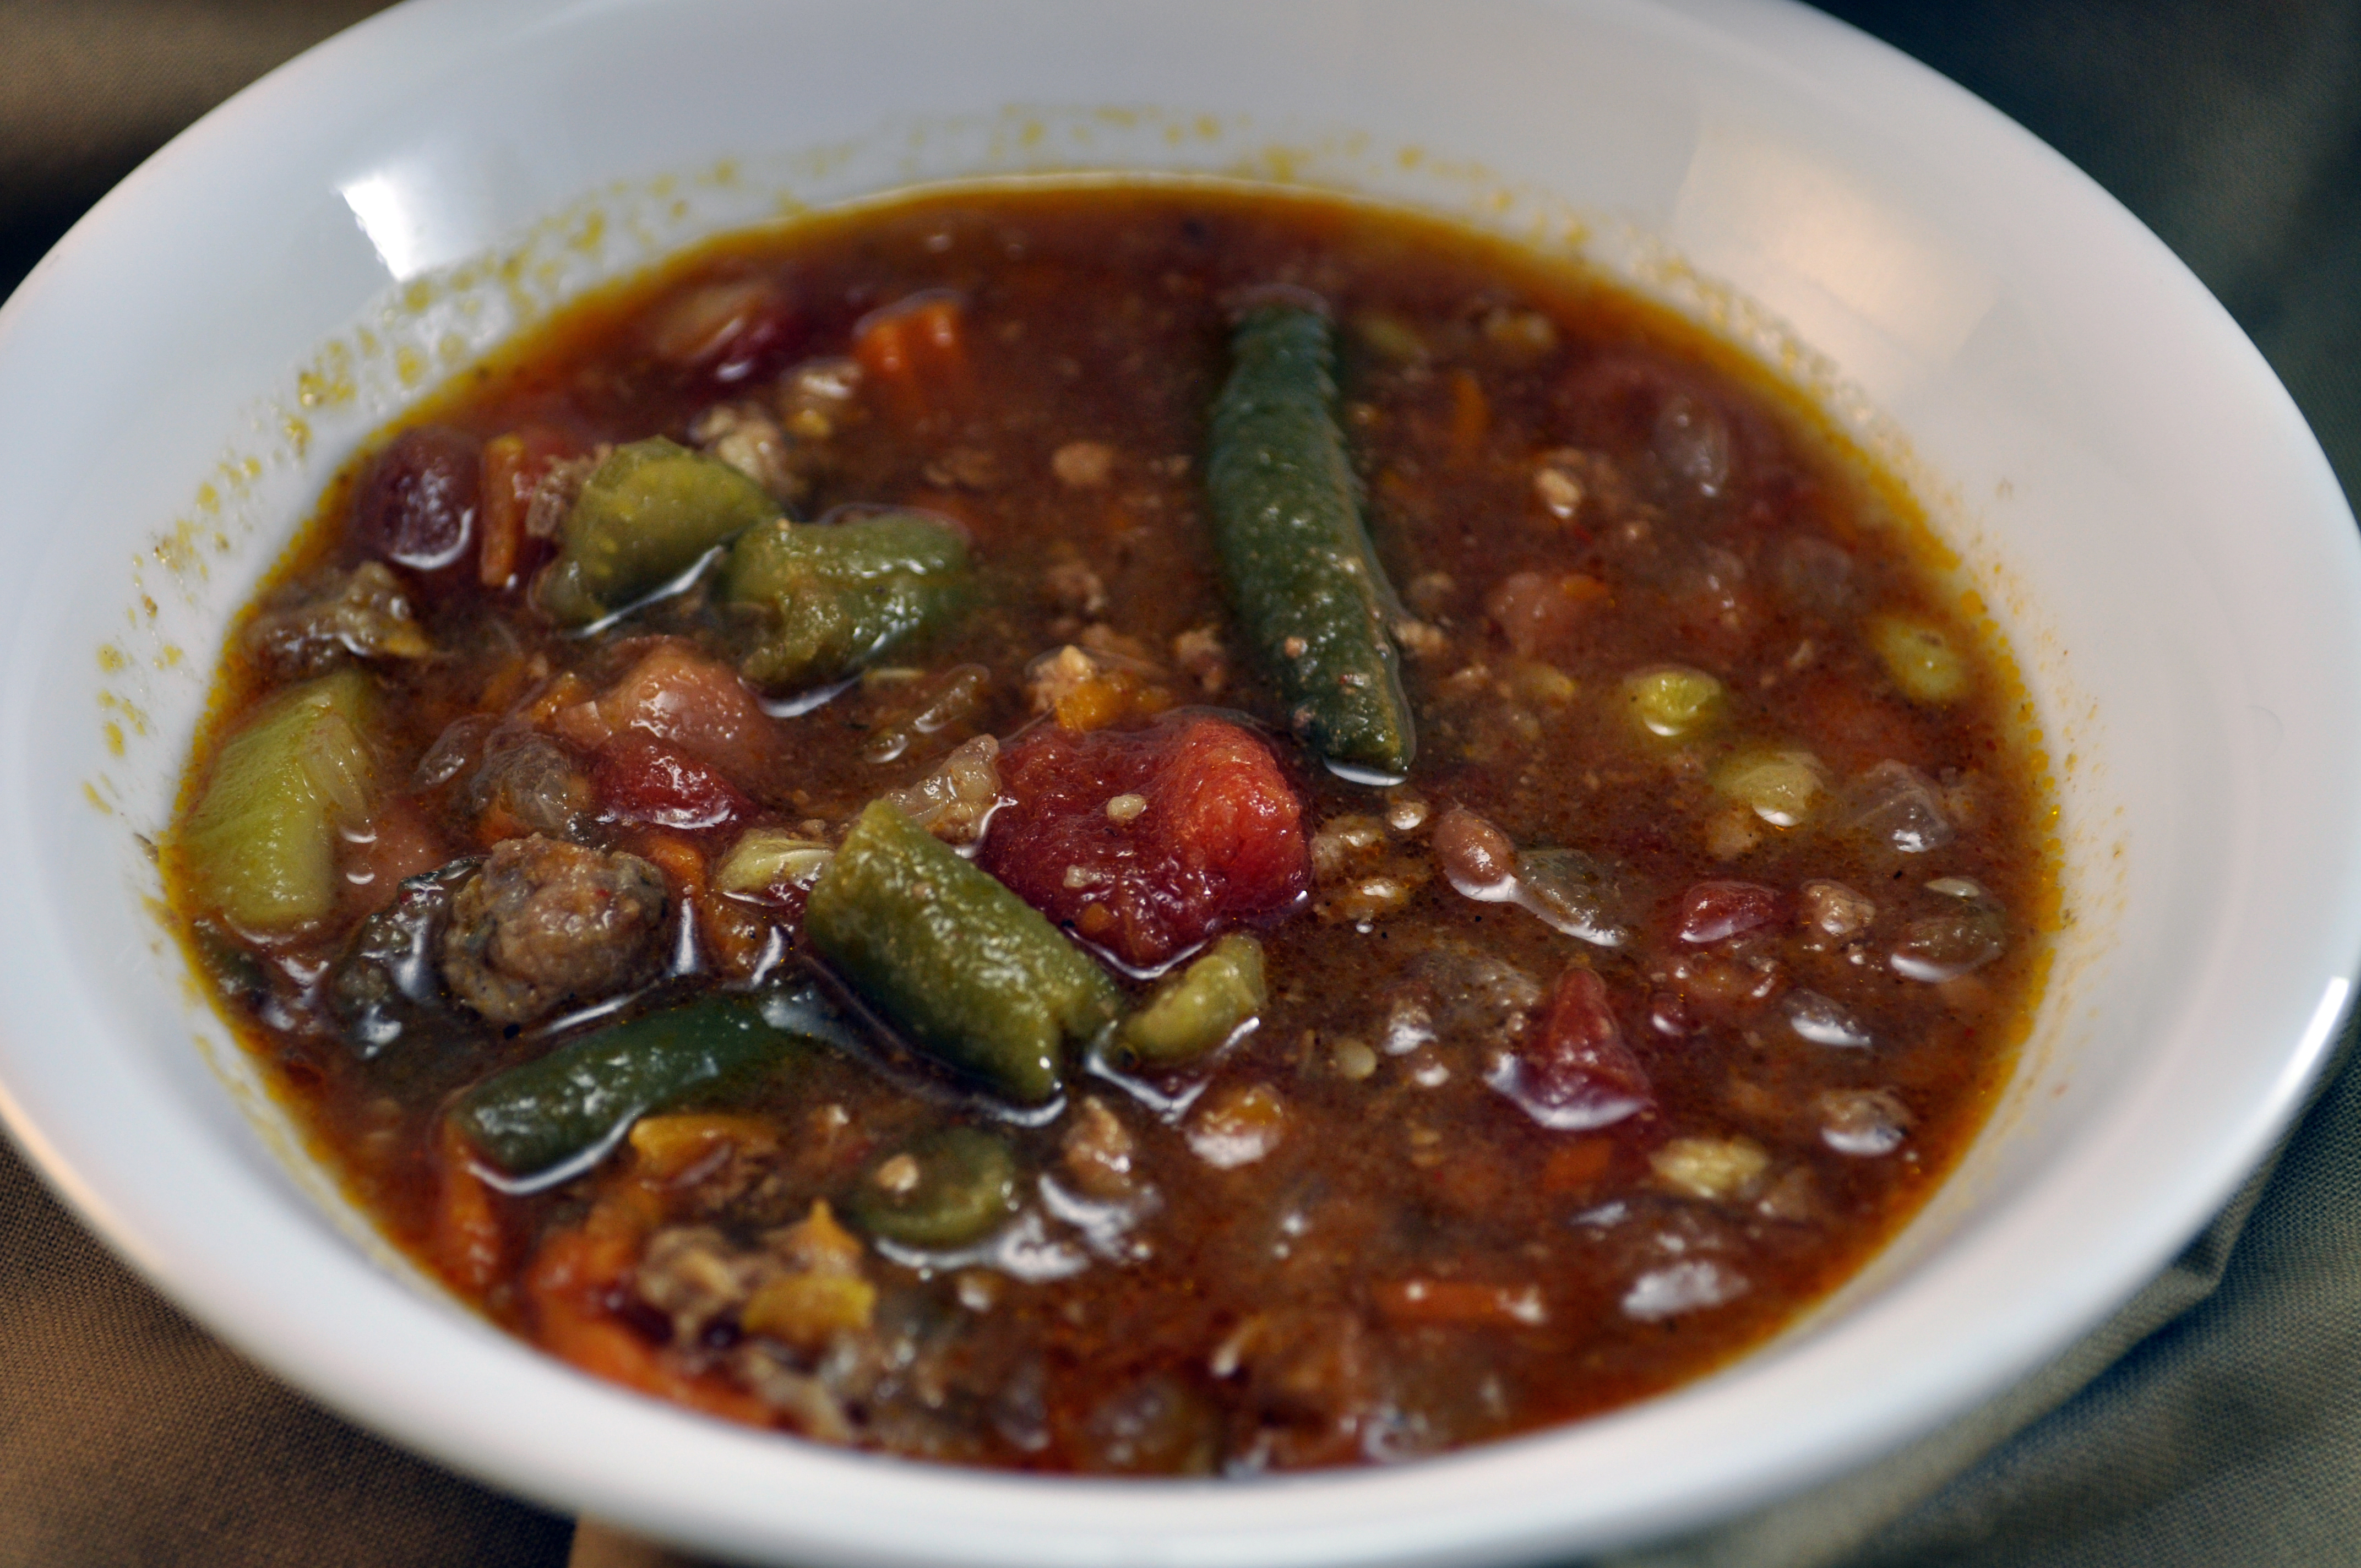
The summer heat is upon us, the kids have activities all over the place, and getting dinner on the table is getting harder and harder. This recipe has many perks – quick to put together, leave in it in the crock pot, no ovens to heat up the kitchen, and utterly cheesy and kid-pleasing. Add fresh cilantro, a squeeze of lime and avocado, because it’s summer, and you can.

Cheesy Mex Chicken with Fritos

Ingredients

2 (10 ounce) cans Ro-tel Diced Tomatoes and Green Chilies (Original), drained
1 (15 ounce) can black beans, rinsed and drained (check ingredient label for gluten)
2 tablespoons instant tapioca (found in the baking isle of most grocers)
2 teaspoons ground cumin
2 pounds boneless, skinless chicken thighs*, trimmed
salt and pepper
1 cup Fritos corn chips, slightly crushed, plus more for garnish
1 1/2 cup Mexican cheese blend (grated)
1/2 cup frozen corn, thawed (or one package freezer sweet corn)
1/4 cup minced fresh cilantro

Garnish
extra Fritos
diced avocado
1/2 lime, cut into wedges

*my grocer did not have these, so I de-skinned and de-boned two packs of regular chicken thighs

Preparation

Drain tomatoes. Add to crock pot. Drain and rinse beans. Add to crock pot. Stir in tapioca and cumin. Nestle chicken into crock pot and salt and pepper.

Set crock pot on low for 4-5 hours.

Remove chicken and place on cutting board. Shred into large bite size pieces.

Stir one cup Fritos, 1 cup Mexican cheese blend, corn and cilantro into slow cooker. Gently stir in chicken and season with salt and pepper to taste. Cook on high for about 10 minutes until cheese is melted in.

Portion into bowls and top with Fritos, cheese, avocado and a small wedge of lime.

Notes: If left in crock pot, it may thicken too much. Add very hot water, one half cup at a time, until desired consistency is reached.

Advertisement

Meaty Minestrone Soup (Gluten Free)

Minestrone

1993

I laid there in my bed listening to the rain drum down on the farmhouse metal roof. The noise a constant low vibration with water dribbles making their way down the gutters. My room sat above the family room and every night I could here Dad thunk his recliner foot-rest into the chair and walk to the kitchen for his ice cream bed-time snack.

The savory air from dinner still hung in the air. It was full-on Autumn and the temperatures where plummeting. They were even calling for snow on Halloween this year. 

2014

The pond beyond my backyard is rippling with rain drops and the leaves are disappearing from the trees with help of the stiff breeze. My baby girl is singing in her bed, determined out out-wit nap time. My son is crunching away on his after school popcorn snack. I wonder if his second loose tooth will make it through the day or if a Golden Dollar will make it’s way under his pillow tonight. It is full-on Autumn and the temperatures are plummeting. They are even calling for snow. It’s Halloween. Time for some warm soup.

Meaty Minestrone Soup

Ingredients:
1 pound hot sausage, removed from casings
1 1/2 cup chopped onion
1 cup diced carrots
1 small zucchini, chopped
1 cup chopped celery
1 can green beans (reserve liquid)
1 can hot and spicy chili beans (check label for gluten)
1 (14.5 ounce) can diced tomatoes
2 cups beef stock
2 cups water
2 cups gluten free pasta or prepared rice, cooked per package directions.

Preparation:
• In a large dutch oven or heavy pot over medium-high heat, brown spicy sausage until no longer pink, drain if needed, add onions and cook until softened.
• Add carrots, zucchini and celery. Stir to combine.
• Add (including all liquid) green beans, chili beans, diced tomatoes, beef stock and water.
• Stir and bring to a boil over high heat.
• Turn heat down to simmer and cook for three hours, stirring occasionally.
• Serve in individual bowls topped with cooked pasta or rice. (Do not add pasta to soup until serving.)

• Notes:
This soup is spicy, but for an extra kick use spicy or Italian green beans and/or spicy tomatoes.

Perfect for the slow cooker! Brown sausage and soften the onions. Add to crock pot with all other ingredients. Set crock pot on High for 4-6 hours.

Ohio Sweet Corn

Sweet Corn

In the dead of winter I sometimes stare out my back window at the crusty, white land. The trees are bare and seem to shudder in the cold as the wind cuts across the pond and ice crystals dance on the frozen surface.

IMG_4673_stitch

It’s hard to believe that just a few months prior we were grilling out, picking tomatoes fresh from the vine and nibbling away at ears of sweet corn dripping with salted butter. I often wonder how this frigid landscape can possibly be transformed back to the lush green habitat of the grey heron and family of mallard ducks. As I sit there, with my warm cup of coffee and thick sweater, and I am thankful that back in August we stood over boiling pots of water and shucked one-hundred-fifty-six ears of corn. I slide on my slippers, hold my breath for the blast of cold and open the garage door.  I shuffle out to the freezer and back again as fast as my feet can carry me and I carry a bag of gold. Ohio sweet corn. In the dead of winter.

I pull a sauce pan from the cupboard, break up the frozen treasure, and add butter and salt. When it is finally steaming hot, I take a bite and I am transformed. Sometimes all the way back to my childhood with visions of my Dad hard at work in the garden. The chill of winter is temporarily forgotten.

Finish tilling garden


Corn 4

Processing Sweet Corn

Bring deep pots of water to a rolling boil.

(If you have an electric kettle, it comes in handy. Fill it, set it to a boil, and use this water to top off the pots as needed.)

Shuck the ears of corn and remove as much silk as possible.

Place as many ears of corn in the pot(s) as you can without crowding. Making sure the entire ear(s) are submerged.

Boil for 3-4 minutes. Remove immediately to a rimmed baking sheet.

Let cool for about 10 minutes.

Using a cutting board and knife (or your favorite cutting tool over a bowl) remove all the corn from the cob. Here is the most important part: Get all that  juice from the cob. To do this, stand the cob on end in a large bowl. Starting from the top, hold a knife at about a 45 degree angle and scrap all the way down. Rotate the cob and repeat until the entire ear is finished.

Portioning and Storing

Our family will eat 1 1/2 cups corn, as a side dish, at an average meal. I prefer using 1 quart Ziploc freezer bags.

Measure amount of corn into bag – and don’t forget to add some of the juice from the bottom of the bowl in each one.

Close the bag 3/4 of the way. Lay it down on a flat surface and press the corn out, filling the bottom corners of the bag and working as much air out of the top as possible. Seal the bag completely. Label month and year with a Sharpie.

I like to press the bags as flat as possible and stack in a box.

Place in freezer.

NOTE: 13 Dozen ears of corn yielded 93 bags of corn (1 1/2 cup each).


Restaurant Style Garlic Bread

Garlic Bread

I can’t help it. I am a sucker for garlic bread. When I was a kid it was a big deal to go a ‘fancy’ restaurant. Not only was Red Lobster or The Olive Garden a good forty five minute drive, but the money just wasn’t there for us to enjoy such things regularly. There is a side of my family that gatherings were not the norm and although Grandma Louise had a healthy appreciation for good food, a cook she was not. So, her birthday usually meant a trip to The City for her celebration – and these eateries always had a bread basket.

I would try to recreate the garlic breads at home, but the ingredients we had on hand at the farmhouse (Nickel’s White Sandwich Bread and garlic powder) where less than sufficient, so I stuck to the good stuff under the linen napkins whenever I had the chance.

In 1999 Mystery Man and I were on the last leg of a road trip from Atlanta when the topic of discussion turned to food, as it did often.  I admitted my life long obsession with garlic bread and he eagerly suggested we hurry to Cincinnati so I could try LaRosa’s Pizzaria garlic bread.  Both of our eyes turned to the clock on my dash board. Calculating the miles per hour, I quickly determined we could make it before they closed. If we hurried.

I pushed that little gold Saturn sedan to it’s limits, and we slid into the bright red booth with big grins and minutes to spare.

____________________________

Being diagnosed with Celiac Disease, my passion for garlic bread was kicked to the curb for a short while. But, where there is a will, there is a way. You can use this same method on a ‘normal’ loaf of Italian bread from your local grocer, or go gluten free like me.

CHEESY GARLIC BREAD
Serves 6 to 8

Ingredients:

5 cloves garlic , grated
8 tablespoons unsalted butter (1 stick), softened
1/2 teaspoon water
1/4 teaspoon Table salt
1/4 teaspoon ground black pepper
1 gluten free baguette  (18- to 20-inch), sliced in half horizontally
1 1/2 cups cheese (shredded Italian blend)

Preparation:

  • Adjust oven rack to lower-middle position and heat oven to 400 degrees.
  • In a small nonstick skillet, saute garlic, 1 tablespoon butter, and water over low heat, stirring occasionally, until straw colored, 7 to 10 minutes.
  • Mix hot garlic, remaining butter, salt, and pepper in bowl and spread on cut sides of  bread.
  • Sandwich bread back together and wrap loaf in foil. Place on baking sheet and bake for 15 minutes.
  • Carefully unwrap bread and place halves, buttered sides up, on baking sheet.
  • Bake until just beginning to color, about 10 minutes. Remove from oven and set oven to broil.
  • Sprinkle bread with cheese. Broil until cheese has melted and bread is crisp, 3 to 4 minutes.
  • Let cool for five minutes.
  • Transfer bread to cutting board with cheese side facing down. Cut into pieces.

Notes:

Serrated bread knives can pull off the cheesy crust. To prevent this, place
the slightly cooled garlic bread cheese side down on a cutting board. Slice through the crust
(rather than the cheese) first – this will keep the cheese in place.

Bacon Wrapped Asparagus

Bacon Wrapped Asparagus

The House

They were living in the church parish house and decided it was time to get a place of their own. Down the country road stood an old farmhouse on an overgrown lot among acres of field owned by the neighboring farmers. The house was built in the mid 1800s and in its heyday it boasted a spring house, smoke house, shed, large stable barn with a hay loft, the creek, and land as far as the eye could see.

The fields were sold off to other farmers over time and the only thing left was the house on about one-and-a-half acres and the shed – all in abandoned condition. The large stable barn still stood, but a fence now separated it from the house, sold with the neighboring parcel.

My parents bought the fixer-upper with great excitement and a vision of a house of their own. They already had a toddler girl, and this house had the space they needed for their growing family.

The interior had plaster and lath walls, burn marks above most every electrical outlet due to fires, and the previous owners housed sheep in the basement. This was the project of all projects.

One of the first jobs on the land was to clear it. The grass was more than head high on the entire lot and it all needed cut back and taken under control. Mom and Dad gathered machetes, hack saws, and mowers. The hard work resulted in a beautiful treasure. They found numerous young pine trees hiding there. Planted in rows with care by an owner long before.

Over the course of nine months they gutted the walls, hung new ceilings, and ran new electric. My mother, pregnant with me, used cinder blocks stacked along the back property line for an outhouse – adding more blocks the more pregnant she became.

Farmhouse before and after

Finally, the indoor plumbing was finished, drywall hung, and sub-flooring laid. Just in time for my birth in the fall. The winter brought the great blizzard of 1978.

Thankfully my parents had a wood burning stove, and an abundance of wood from clearing the land, to keep us warm. The county sheriff heard news of a baby at our address and came on snow mobile to deliver milk and essentials.

With the house nearly finished, attention was turned to the land again. The pine trees had been nibbled on by sheep, but they transplanted them to the back of the property for a wind break and each one recovered nicely. They ordered fruit trees and Mom tells the story of the planting…

“Your father had the holes already dug for the trees. We received the trees by UPS and then it began to rain, filling up the holes with water. Finally after a week of rain we decide to plant on Saturday, even if we had a monsoon. Monsoon it was and we were outside planting trees with you and your sister looking out the windows. What a bonding experience! We were wet, muddy, and tired, but the trees were planted. Every tree lived and after that every time we planted something large, we dug the hole and filled it with water!” 

There was a lovely flat area – three thousand five hundred square feet – just between the apple tree line and the back corn field. The garden was so big our friend Jeff brought his field tractor to turn the soil. With three quick swoops the first turn was done. It would have taken days with the two-wheeled rototiller my Dad shared with my Uncle.

Garden plow day

The garden’s longest side contained blackberry bushes, strawberries and asparagus patches. Walk along the rows and you would find potatoes, onions, corn, green beans, lettuces, broccoli and an occasional Tonka™ Truck. My sister and I loved making roads, mountains and creeks amide the pathways. We harvested throughout the growing season and either canned or processed by a blanch-and-freeze method for the winter.

The asparagus patch is still there. In a few weeks the first spears will be peaking through the soil and I will beg my mother for some – as I do every year. To anyone else it might just taste like asparagus, but to me it tastes like home.


Bacon Wrapped Asparagus

Ingredients:

Asparagus, one bunch (about 1 1/2 to 2 pounds)
Bacon, one pound
Cheese – Parmesan or Mozzarella, shredded

Preparation:

  • Pre-heat oven to 400 degrees
  • Line a rimmed baking sheet with foil and nest a wire rack inside.
  • Wet a paper towel with olive oil and rub generously on the rack.
  • Working with one asparagus spear and one slice of bacon at a time, snap an inch or two off the cut-end of the spear. Wrap spear with one slice of bacon.
  • Place on rack, leaving about 1/2 inch gap in between. Do not allow them to touch.
  • Once all the spears are wrapped, place in oven for 18-20 minutes, or until the bacon is to the crispness you desire.
  • Remove tray from oven and use tongs to transfer spears to a serving tray.
  • Sprinkle with cheese and serve.

Origin of The Book

Dad with Peaches Big Bird With Mom in rockerFarmhouse

Mom finally came through with that family cookbook she had been promising. The coveted book was finally in my hot little hands. A one-and-a-half inch binder with an obnoxious purple leopard print cover, it was full of answers to my culinary questions and the magic gateway to turning my kitchen into a version of hers. Without wasting a minute I sat down to flip through the contents.

Initially I turned the pages rapidly looking for my favorites.  Junk Meat, the go-to roast she made almost weekly.  Decorator’s Icing, the secret to the hundreds of cakes she sold out of our little farmhouse kitchen. However, it was not long before I slowed down and lingered on each page as every recipe suddenly brought a flood of memories with it.

I was transformed into that little brown haired, blue eyed, freckle faced girl sitting in our 1970’s kitchen. I smelled the sweetness from her most recent cake order and mingling in there somewhere was a little hint of savory left over from dinner. That night it was a quick fix of seasoned and baked hamburger patties with canned green beans from our garden and mashed potatoes. Always potatoes. They made a nightly appearance per my Dad’s request.

The orange and yellow floral vinyl floor was speckled with crumbs and the goldenrod countertops cluttered.  A Kitchen Aid Mixer and small black and white T.V. droned in the background and it was my sister’s turn to clear the table and run the dishwasher. She chatted on the phone with a cord so long you could nearly reach half of the house. I sat at the table in the kitchen doing school work as Mom maneuvered around easily and efficiently, pausing at times to look over my shoulder or quiz me on a spelling word.  I was stuffed, but the little bits of cake left over from trimming petit fours littered the tray beside me and I nibbled along.

Snapping me back into reality was my baby banging on his highchair signaling me for more Cheerios. I quickly obliged then took a moment and looked at my own kitchen. The counters were cluttered, the air warm, and the gorgeous smell of dinner wafted throughout the house.  Italian meatballs lined the cooling rack for freezing later. The little (color) T.V. blinked in the background and I noted how similar my childhood kitchen and this kitchen felt.

It was then I came to the realization I am now the keeper of the book. The carrier of the torch, if you will.  The connection I had with my mother in that farmhouse resonated here and extended to this smiling baby.  I am the person, and this is the kitchen that my children will remember. I have the ability to shape their memories, all the while taking a journey through mine with this cookbook. Not only will I will add their favorite recipes to that purple leopard binder, I will take the time to write down my stories and memories of the dishes that mean the most to me. Since we have transitioned from the long telephone cord of my childhood to the current digital age I have the ability to share this with you, too.